Select the topic you are interested in:
Application installation
For the correct operation of the application you need a server with PHP version 8 or higher (maximum 8.3.x) with installed Imagick or GD (with Imagick you get the best image quality).
Do you need help during installation? Write an e-mail to us.
- Connect to your FTP server using any software (FileZilla, Total Commander) or upload the files in your server's service hosting pane and copy all the files and folders from the "PhotoSelector" directory that are in the .zip package which you downloaded from CodeCanyon.
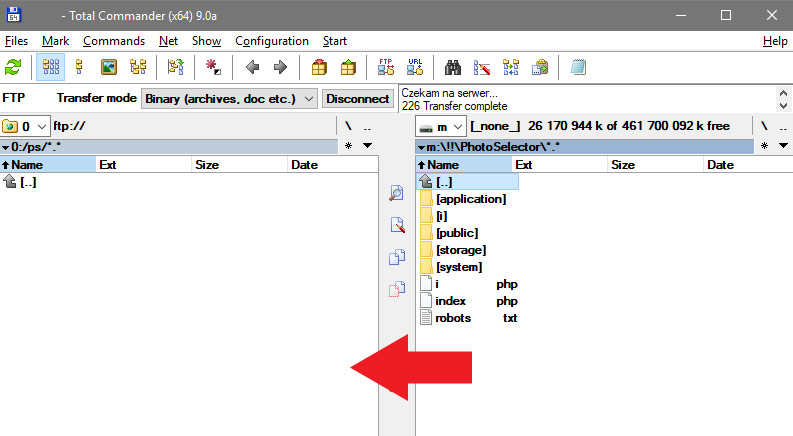
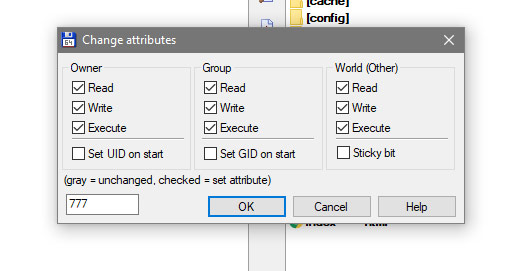
- Give write permissions to the following directories:
application/logs

						storage
- Open your browser and go to the url address where you have uploaded the files. The login page for the administration panel is displayed. If your server does not meet the requirements for the application, it will be displayed under the login window.
Log in to the application by entering the password Pass01 and do not forget to change it for security reasons immediately.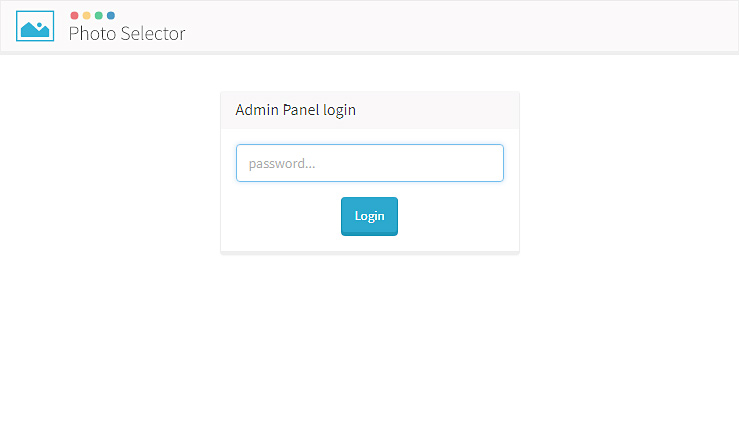
Creating a gallery
- Log in to the Photo Selector admin panel.

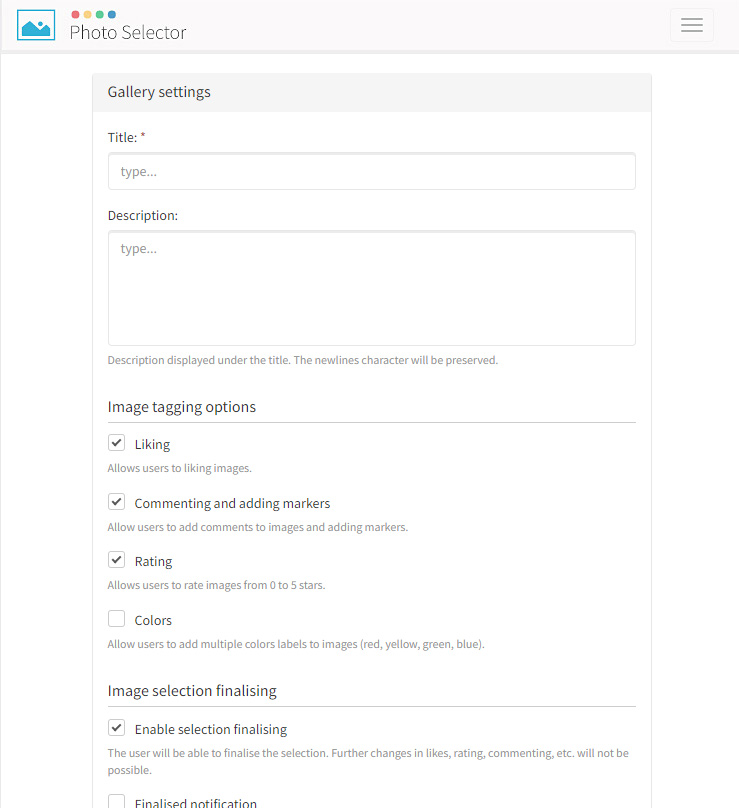
- Click "Add gallery..." button. Enter the gallery title and select which gallery options you want to enable.
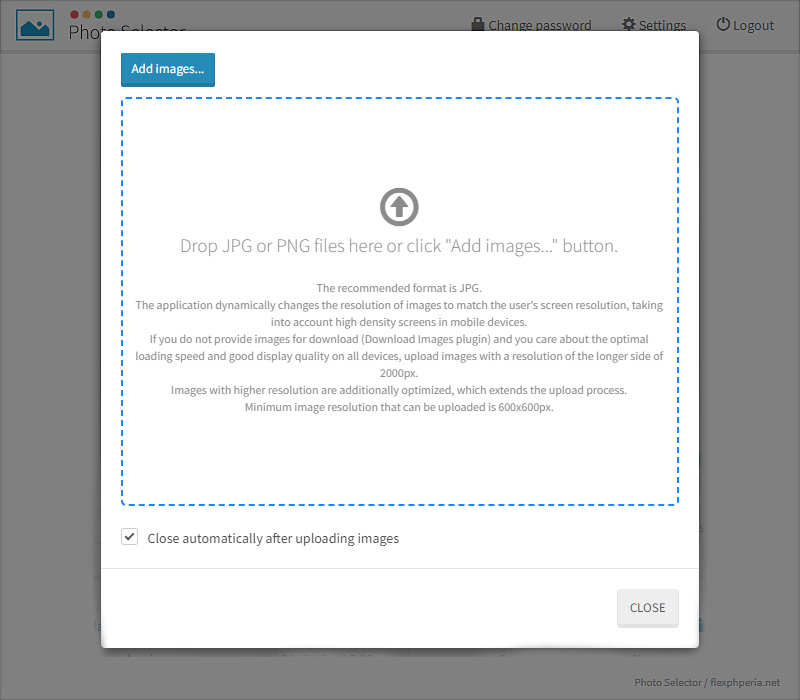
- Click the "Actions" button on the newly created gallery and select "Upload images...". Drop images in the indicated field or use the "Add images..." button.
- Once you have uploaded your images, your gallery is ready to be shared.
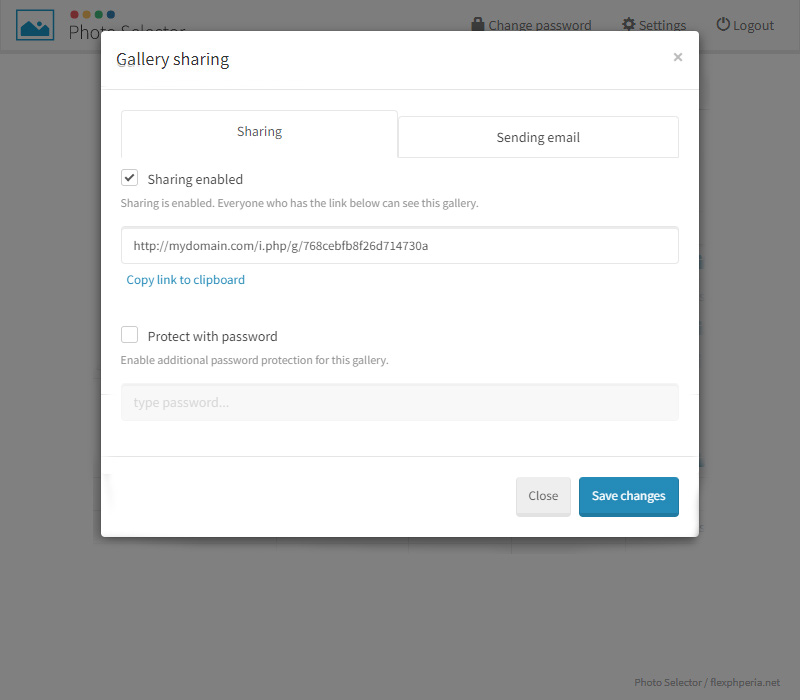
- Click the "Click to share..." link. Check the "Sharing enabled" option and copy the link you can send to the people who you want to view the gallery to the clipboard. In addition to this, you can select "Protect with password" and enter the password they will need to open the gallery.
- Use the "Actions" button in the gallery list and select "Browse" to view the gallery as an ad-manager. You can always add new images to the gallery or delete selected ones by clicking "Delete images" and selecting the ones you want to delete.
Tips on resolution and image quality
The recommended format is JPG with 2000px on the longest side and quality from 70 to 80.
The application dynamically changes the resolution of images to match the user's screen resolution, taking into account high density screens in mobile devices.
If you do not provide images for download (Download Images plugin) and you care about the optimal loading speed and good display quality on all devices, upload images with a resolution of the longer side of 2000px.
Images with higher resolution are additionally optimized, which extends the upload process.
Minimum image resolution that can be uploaded is 600x600px.
Plugin installation
Photo Selector has the ability to install additional plugins to expand the application capabilities.
Follow the instructions below to install and activate the plugin:
- Copy the folder containing the plugin files to the "plugins" directory.
- In the administration panel, go to the "Settings->Plugins" tab and click "Enable" on the plugin to activate it.
Updating application
You can update Photo Selector and its plugins to the latest version while keeping your settings and galleries. Follow the instructions below:
- Backup everything from the FTP folder where Photo Selector is uploaded.
- Log out of the app and do not use it during the update process.
- Delete all files and folders from the FTP folder where Photo Selector is uploaded except the directories: storage and plugins.
- From ZIP file with the latest version of the application, upload to the server all files and directories except for the following directories: storage and plugins.
- Delete all directories (plugins) from the plugins folder.
- Upload current versions of all previously used plugins to the plugins directory.
- Log in to the application again to confirm its correct operation.
Translating the application into additional languages
Photo Selector supports multi-language interface. Standard languages are Polish and English.
Follow the instructions below to add a translation in another language (basic PHP knowledge required).
- Add the idiom and the name of the new language in the "application/config/photo_selector.php" file
$config['ps_languages']. - In the folder "application/languages" create a folder with the name of the new language and copy all the files from any of the standard languages.
- Translate all the copied files into the new language.